

How to Install Aquabrim Water Level Controller — A Complete Step-by-Step Guide
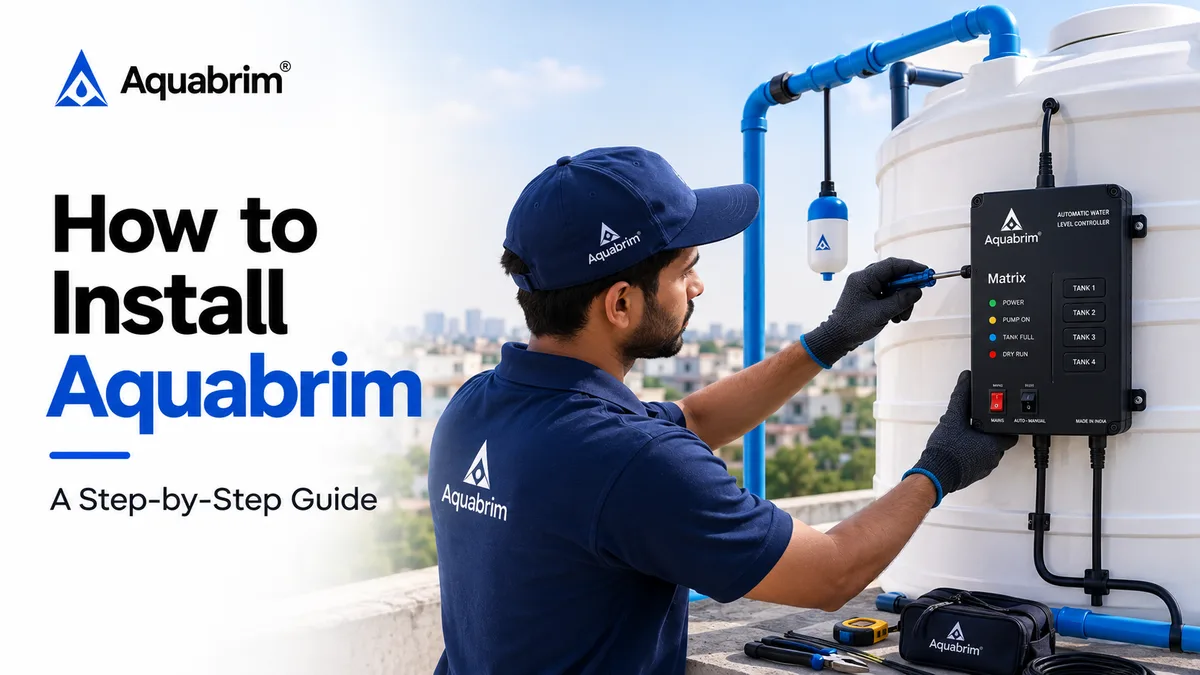
Installing an Aquabrim water level controller involves four main tasks: placing the wireless transmitter inside your overhead tank, fixing the second transmitter in your underground tank or borewell (for Macro and Matrix models), mounting the controller unit on a wall near your motor, and having a qualified electrician connect the controller to your motor circuit. The full installation typically takes two to four hours. The sensors are wireless, no cables run between the tanks and the controller.
Getting an Aquabrim system up and running is significantly simpler than most people expect. Unlike older wired controllers that required cables to run between every tank and the motor panel, Aquabrim uses RF-based wireless sensor technology, meaning the only wiring involved is the connection from the controller unit to your motor's power supply.
This guide walks through the complete installation process for Aquabrim's residential and commercial models, with separate sections for the Trigger (municipal supply), Macro (borewell), and Matrix (multi-tank) where the steps differ. Read through the full guide before starting, understanding the process end-to-end makes each individual step easier.
If you are not yet sure which model is right for your home, read the guide on choosing the right water level controller before returning here.
Before You Start — What You Need to Know
Aquabrim controllers connect to your motor's 220V AC power supply. The controller-to-motor wiring must be done by a qualified electrician. Sensor placement in tanks is safe and can be done by any capable adult. Never connect or touch power wiring without switching off the mains supply first.
With the safety note clear, here is what to have ready before you begin:
- A qualified electrician on hand or booked, required for the motor wiring step
- A standard masonry drill with plugs, for wall mounting the controller
- A screwdriver and cable ties, included in the kit, but having extras helps
- A ladder or safe access to the overhead tank, for sensor placement
- Your motor starter panel location confirmed, the controller mounts near this
- A smartphone with the Google Play Store, for the Aquabrim app setup at the end
What's in the Aquabrim Box
Open the box and confirm all components are present. Every Aquabrim kit comes with:
- Controller unit — Trigger, Macro or Matrix, depending on your model
- Overhead tank (OH) level transmitter with holder
- Underground tank (UG) level transmitter with holder — for Macro and Matrix models
- Mounting hardware — wall screws, plugs and cable ties
- Built-in fuse plus 2 spare fuses inside the controller
- Optional flow sensor — for models that support flow detection
- Quick-start instruction sheet
The Aquabrim app for Android and web is downloaded separately, the link is provided in the instruction sheet.
Installation Overview — 6 Steps
Here is the full installation process at a glance before going into each step in detail:
- Step 1: Choose the right location — the mount point for the controller, near your motor starter
- Step 2: Install the OH tank transmitter — fix the wireless sensor inside your overhead tank
- Step 3: Install the UG or borewell transmitter — fix the second sensor in your underground tank or borewell (Macro and Matrix)
- Step 4: Mount the controller on the wall — drill and fix the controller unit at the chosen location
- Step 5: Connect the controller to the motor circuit — the electrician connects Live, Neutral and motor wires
- Step 6: Power on, test and set up the app — switch on, verify the LED indicators, download the Aquabrim app
Step 1 — Choose the Right Location for the Controller
Before fixing anything, decide where the controller unit will be mounted. The right location makes the wiring cleaner, the LED indicators visible, and long-term maintenance easier.
The controller should be mounted on a dry, protected wall — ideally close to your motor starter panel or the electrical switchboard that controls the motor. This keeps the wiring between the controller and the motor as short as possible.
Aquabrim controllers must not be exposed to rain, water splashes, dust, or direct sunlight. If the motor panel is in an open area, a common situation in Indian homes where the motor switch is near the water pump outside or in a utility room, use a non-metallic protective enclosure around the controller.
The wireless transmitters in the tanks communicate with the controller over radio frequency. In most standard Indian residential buildings, the signal travels through walls and across floors without issue. If the building is large or has reinforced concrete that blocks signal, Aquabrim's Wireless Signal Booster can extend the range.
Step 2 — Install the Overhead Tank Transmitter
The overhead tank (OH) transmitter is the wireless sensor that monitors your main storage tank, the one on the roof or terrace that supplies water to your taps.
Take the OH transmitter and its holder from the kit. The holder is designed to clip or fix to the inside wall of the tank, keeping the sensor submerged at the correct depth to measure the full range of water levels.
Place the transmitter inside the tank using the holder. The sensor automatically calibrates to the tank's full level once powered. Aquabrim transmitters send level data wirelessly from 1% to 120% — meaning they can detect both how full the tank is and whether it is overflowing beyond its rated capacity.
The transmitters run on AA-size batteries that last more than four years. They do not require any external power source or wiring, once placed and the batteries are inserted, they begin transmitting immediately.
Secure the holder firmly inside the tank using the cable ties provided. The sensor should be positioned vertically so it can read the full depth of water from empty to full.
Step 3 — Install the Underground Tank or Borewell Transmitter
This step applies to the Macro (borewell or submersible pump) and Matrix (multi-tank) models. If you are installing the Trigger for a municipal supply line only, skip to Step 4.
The underground tank (UG) transmitter monitors your water source, either an underground storage tank that is filled by municipal supply, or the borewell itself. Monitoring this source is what enables Aquabrim's dry-run protection: if the source runs low, the controller stops the motor before it can run without water.
Fix the UG transmitter inside the underground tank or borewell using the second holder from the kit. The installation process is the same as the OH transmitter, position it vertically, secure it with cable ties, and insert the batteries. No wiring is required.
If you are using the Matrix model for multiple overhead tanks, install an additional wireless transmitter in each tank. Each transmitter communicates independently to the controller, and the controller displays the level of every tank, labelled by tank number, on its digital display.
Step 4 — Mount the Controller on the Wall
Take the controller unit and hold it against the wall at your chosen location. Mark the mounting hole positions with a pencil. Using a standard masonry drill and the wall plugs provided, drill the holes and fix the mounting screws.
Mount the controller on the screws. The unit should sit flush against the wall, stable and secure. Check that the LED indicator panel is visible from a normal standing position, you will refer to these indicators regularly to confirm system status.
The LED indicators on Aquabrim controllers include Overflow, Flow On, Motor On, UG Level, and Alert (E-XX) indicators. The controller also has a Manual Trigger button, pressing and holding this for five seconds starts the motor immediately and fills all connected overhead tanks, stopping automatically once full. This is useful for testing after installation.
At this stage, do not connect any power wiring yet. The controller should be mounted and positioned, but all electrical connections happen in the next step with the electrician.
Step 5 — Connect the Controller to the Motor Circuit
This is the step that requires a qualified electrician. Do not attempt it yourself if you are not trained to work with 220V AC electrical circuits.
The Aquabrim controller installs in parallel to your existing motor switch. This is an important point, your existing manual motor switch is not removed or replaced. The controller simply takes over automatic switching while the manual switch remains fully functional as a backup override for whenever you need manual control.
The electrician will connect the Live wire, Neutral wire, and the motor control wires between the controller and the motor starter panel. The exact wiring diagram for your specific model is printed inside the controller unit cover and in the instruction sheet included in the kit.
Once wired, the electrician should verify the connections are secure and there are no exposed wires before switching the power on. The controller has a built-in fuse for protection, if the fuse trips during installation, two spare fuses are included inside the controller unit.
Switch on the mains supply and observe the LED indicators. The Power indicator should come on. If the motor is not currently needed because the tank is not low, the Motor On indicator should remain off. This confirms the controller is receiving power and is in automatic standby mode.
Step 6 — Power On, Test, and Set Up the Aquabrim App
With power connected and the controller running, the transmitters in the tanks should now be communicating with the controller wirelessly. The tank level display, which shows the water level of each connected tank as a percentage, should be showing a reading.
Do a quick functional test before finalising the installation. Press and hold the Manual Trigger button on the controller for five seconds until you hear a beep. The motor should start and begin filling the overhead tank. Watch the tank level percentage climb on the display. When the tank reaches full, the controller should stop the motor automatically. If this works correctly, the installation is functioning as expected.
Now set up the Aquabrim app for remote monitoring. Download the Aquabrim app from the Google Play Store on your Android phone, or access the web platform at aquabrim.co.in from any browser. Follow the pairing instructions in the app to connect it to your controller. Once connected, you can see live tank level data, motor status, and receive real-time alerts on your phone, including overflow warnings, dry-run alerts, and motor fault notifications.
Check that the Smart Scheduling feature is configured if it is relevant to your setup. Aquabrim supports scheduled pump operation for situations where you want the motor to operate only within specific time windows, useful for buildings in areas with predictable supply timing.
Post-Installation Checks — Make Sure Everything Is Working
Once the installation is complete and the app is connected, run through these checks before considering the setup finished:
- LED indicators on the controller show the correct status — Power on, Motor off when the tank is full
- The tank level percentage on the display matches the approximate actual level in the tank
- The motor starts automatically when the tank level drops below 50% (for Macro) or the set threshold
- The motor stops automatically when the tank reaches full level, no manual intervention needed
- The overflow indicator does not trigger during normal operation
- The app is showing live data — tank level, motor status, and any active alerts
- The Manual Trigger button works — the motor starts on hold and stops automatically once the tank is full
- The existing manual motor switch still works as an override when the controller is powered
If any of these checks fail, refer to the Alert indicator on the controller. Error codes display as E-XX on the controller's display — the instruction sheet lists what each code means and the corresponding fix. For issues that cannot be resolved by the instruction sheet, contact Aquabrim support directly at +91-9560088791 or through the contact page.
Ongoing Maintenance — What to Do After Installation
Aquabrim systems are designed for long-term, low-maintenance operation. If the system and controller are used as per the recommended guidelines, they are built to last more than ten years. The only routine maintenance task is replacing the transmitter batteries.
Replace the AA batteries in each transmitter every three to four years, or when the controller's display shows a low-battery alert for a specific transmitter. Battery replacement takes under two minutes per transmitter, remove the old batteries, insert new AA cells, and the transmitter resumes normal operation immediately.
Keep the controller unit clean and free from dust. Do not spray water near it. If you notice any physical damage to the controller casing or wiring, contact Aquabrim before attempting any repair.
If you add a new tank to your building in future, additional wireless transmitters can be added to the system without replacing the controller, particularly for Matrix models. Contact Aquabrim to confirm compatibility with your specific controller model before purchasing additional sensors.
Aquabrim offers expert support, installation guidance, and after-sales service across India. Contact the team directly to get a recommendation for your specific setup or to book an assisted installation. Talk to the Aquabrim team or explore all Aquabrim products.
Conclusion
Installing an Aquabrim water level controller is a straightforward process that most homes complete in a single afternoon. The wireless sensor design eliminates the most labour-intensive part of older installations, running cables between tanks, and leaves you with a clean, maintenance-free setup that works automatically from day one.
The six steps in this guide — choosing the location, placing the transmitters, mounting the controller, wiring to the motor, testing, and setting up the app — apply to all standard Aquabrim residential and commercial installations. Follow them in order, work with a qualified electrician for the wiring step, and the system will be running reliably within a few hours.
For model-specific questions, installation support in Delhi NCR, or to explore the full range of Aquabrim products, contact the team directly. Aquabrim has been installing water automation systems across India since 2008 — the support team knows the product inside out.
Ready to stop manually managing your tank?
Aquabrim makes smart water level controllers for every home setup, municipal supply, borewell, or multiple tanks. Trusted by 50,000+ homes across India.
FAQ
Frequently Asked Questions
For a standard single-tank residential installation, a qualified electrician typically completes the full setup, sensor placement, controller mounting, and motor wiring, in two to four hours. Multi-tank or commercial installations may take longer depending on the number of sensors and the distance between tanks.
The sensor placement in the tank is safe and straightforward, any capable adult can handle it. However, connecting the controller to the motor circuit involves 220V AC wiring and must be done by a qualified electrician. Aquabrim includes clear wiring instructions, and the team can provide remote guidance or arrange installation support in Delhi NCR.
Yes. Aquabrim uses RF-based wireless sensor technology. The transmitters in the tanks send level data to the controller wirelessly, no cables need to run between the tank and the controller unit. Only the controller itself requires a mains power connection and wiring to the motor circuit.
Choose Trigger if your home is connected to a municipal (corporation) water supply line, it detects when water arrives in the pipe and starts the motor automatically. Choose Macro if your water comes from a borewell or submersible pump, it monitors both the source and the overhead tank, with built-in dry-run protection. For multiple tanks, the Matrix is the right choice.
The controller should be mounted on a wall near your motor starter panel, in a dry and well-protected location. It must not be exposed to rain, water splashes, dust, or direct sunlight. If the location is in an exposed area, use a non-metallic protective enclosure as recommended by Aquabrim.
Aquabrim controllers are installed in parallel to your existing motor switch. This means your existing manual switch remains in place and functional. The controller simply takes over automatic operation while the manual switch remains available as a backup override.
The Aquabrim wireless transmitters run on AA-size batteries that last more than four years under normal operating conditions. The sensors automatically calibrate to the tank's full level and send data wirelessly from 1% to 120% — no external power source is required for the sensors themselves.
After the physical installation, power on the controller and verify the LED indicators: Overflow, Flow On, Motor On, UG Level, and Fuse indicators should all show correctly. Download the Aquabrim app from the Google Play Store or access the web platform at aquabrim.co.in to connect the controller to your phone for real-time monitoring and alerts.